This guide explains how to enable and use localization (language translation) in Helical Insight using a simple patch.
The goal is to make the application support multiple languages in a way that’s easy for both developers and end users.
1. Installation Steps
- Download the
LocalizationPatch.zipfile and unzip it. - Inside the extracted folder, you’ll find a folder also named
LocalizationPatch. Copy this folder and paste it into the following directory:…/hi/apache-tomcat-9/webapps/hi-ee/js
- Open the file
loginBody.jspin edit mode. It is located at:…/hi/apache-tomcat-9/webapps/hi-ee/WEB-INF/jsp/login
- Add the following script tag to the file:
<script src="${baseURL}/js/LocalizationPatch/home.js"></script>
This script connects the localization functionality to your application.
Earlier, loginBody.jsp was modified from:
…/hi/apache-tomcat-9/webapps/hi-ee/WEB-INF/jsp/login
Now, the change should be done instead in:
…/hi/apache-tomcat-9/webapps/hi-ee/WEB-INF/jsp
2. Folder Structure
The LocalizationPatch folder contains:
- A folder named
langs:- en-US.json
- fr.json
- es.json
- A JavaScript file:
home.js
Explanation:
– The langs folder contains JSON files for different languages. Each file has key-value pairs — where the key is the English text and the value is the translated text.
– The home.js file is responsible for translating the application’s text based on the selected language.
3. How It Works
Language Detection and Translation
- When you pass a language (locale) in the URL, the app uses that language for translation across all pages — even if the URL doesn’t continue to show the locale.
- If no locale is passed in the URL, the application automatically checks the browser’s preferred language and translates the text accordingly (if a corresponding JSON file exists).
Example:
If a user’s browser is set to French, the application will automatically use the fr.json file for translation.
4. Language JSON Files
- These files contain key-value pairs (e.g.,
"Hello": "Bonjour"). - The structure is the same for all language files.
- To add a new language:
- Create a new JSON file with the same structure.
- Name the file using the appropriate locale code (e.g.,
de.jsonfor German).
5. Code Overview
Single File Used: home.js
This file contains two main functions:
- getParams()
– Extracts thelocaleandtimezonefrom the URL.
– If nothing is passed, it falls back to the browser’s preferred language. - textTranslator()
– This is the main function responsible for translating the UI.
– It:- Loads the correct language JSON file based on the locale.
- Traverses each HTML element and replaces the English text with the translated version.
- Uses MutationObserver to detect and translate new elements added dynamically to the page.
⚠️ Important: A sentence may appear as a single line in the UI but be made of several HTML elements (like<div>and<span>). Each part must have a separate translation entry in the JSON file.
6. Updating Existing Language Files
If a word or sentence isn’t translated:
- Use the browser’s Inspect Tool to find the exact English text.
- Get the correct translation for your language.
- Add the new key-value pair to the relevant JSON file (e.g., add to
fr.jsonfor French). - Save the file and refresh the page — the new text will now be translated.
7. Adding a New Language
To add support for another language:
- Create a new JSON file in the
langsfolder. - Follow the same format as the other JSON files.
- Use the locale code as the filename (e.g.,
it.jsonfor Italian).
🔴 Note: The translation function is case-sensitive. Ensure the keys in the JSON file exactly match the text in the UI.
For example:
– If the UI says Hello, then the key must also be Hello, not hello.
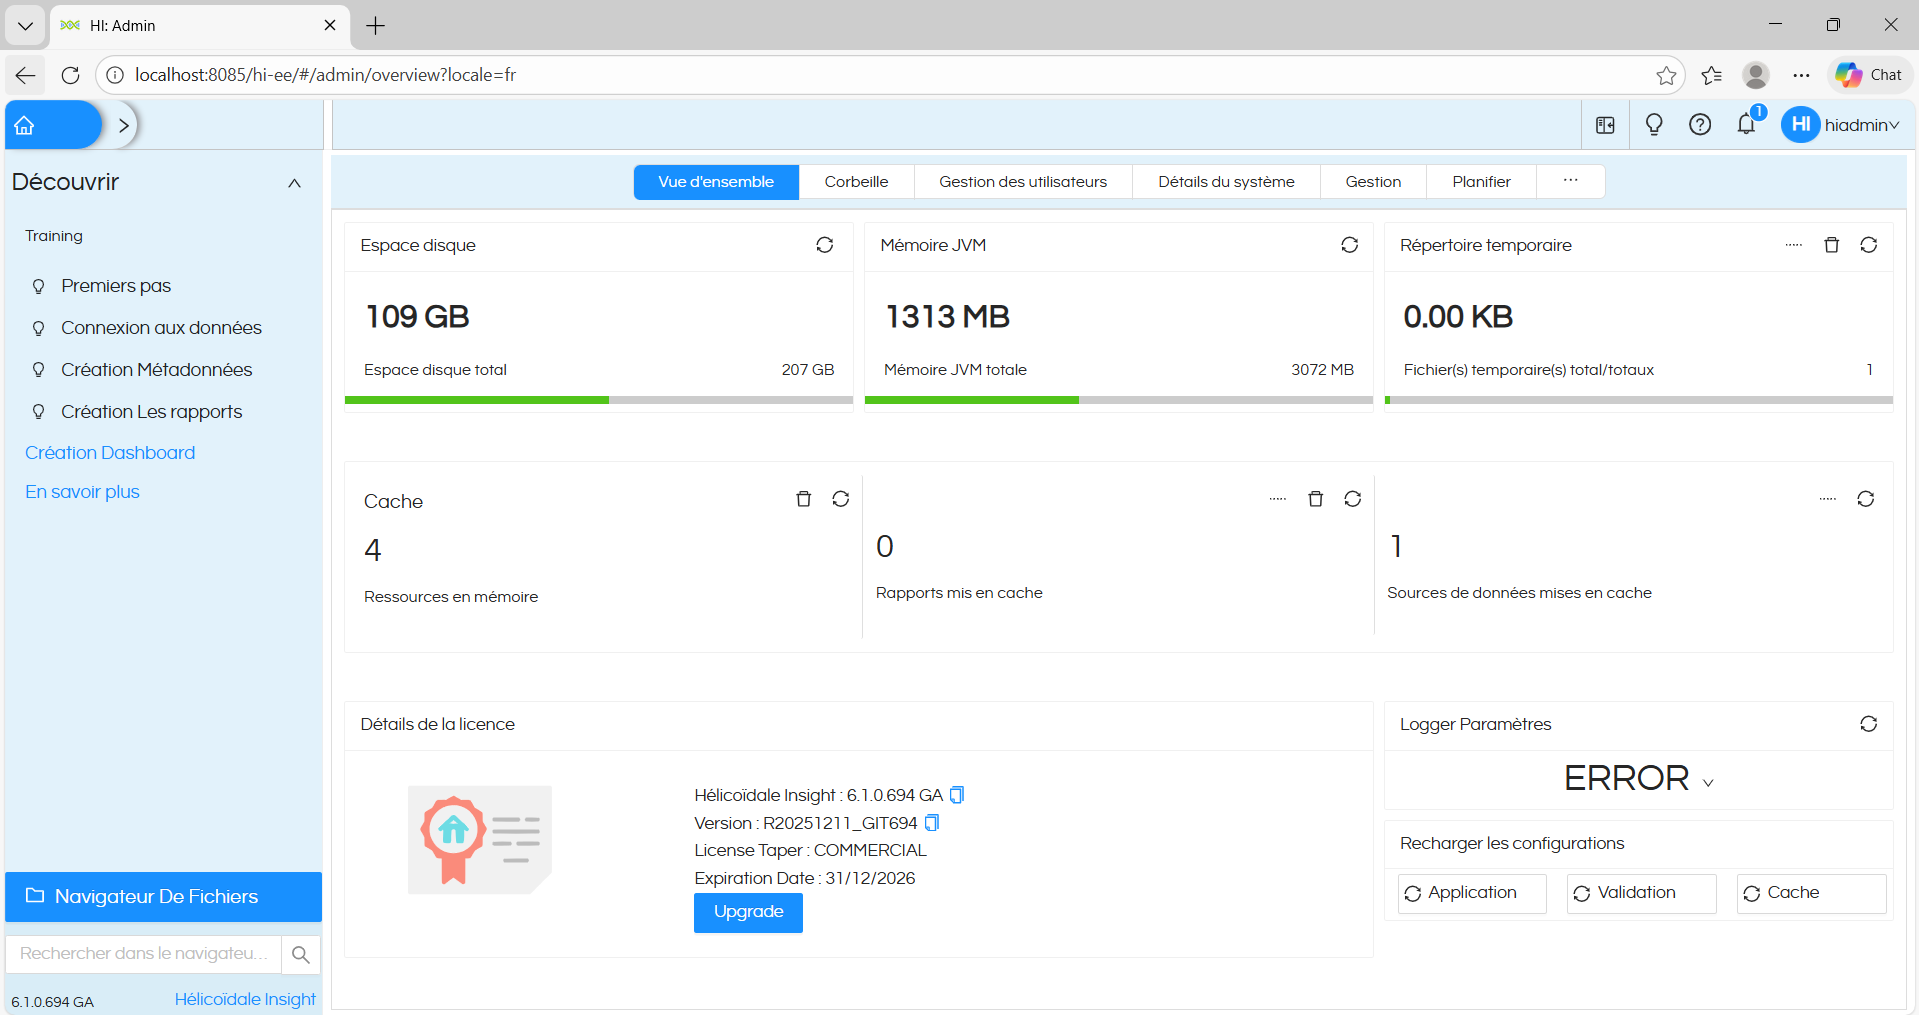
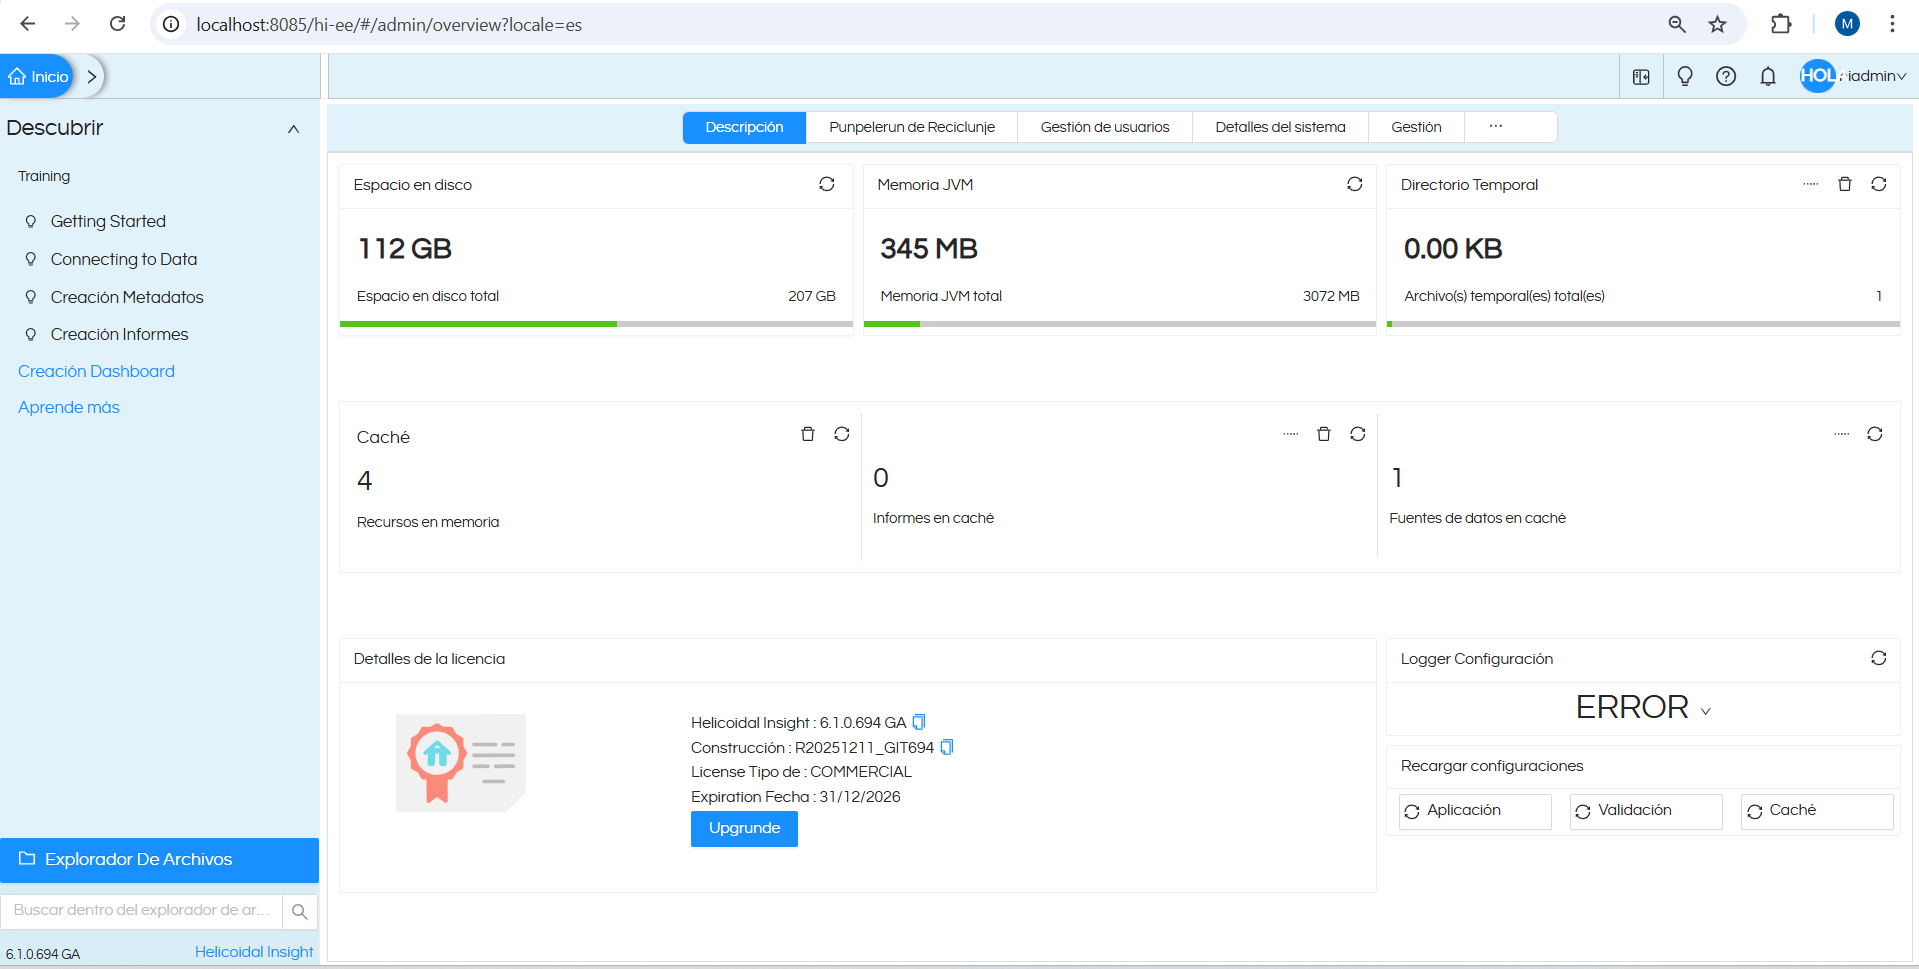
Accessing Helical Insight with Locale Configuration
After configuring localization, you can see the result by accessing the Helical Insight URL, as shown in the screenshots below.
All menus, labels, and system information are displayed in the configured language, while the functionality remains unchanged.