
The custom column feature allows users to create a separate derived column which could be required for creating reports. This is useful when the data is required in a different format or there is some custom calculation which is required. In custom column we can write SQLFunction (as long as it returns a single column of values), arithmetic functions, logarithmic functions, static values, case statement etc.
In this below blog we are covering an example. We have ‘date time’ values in the database. Now, we want to extract date from the date-time values, then using custom column we will use the SQLfunction to extractdate and mention the columnname on which we are applying this.
Following are the steps to create a custom column:
Step1: First click on Columns then click on the down arrow as shown in the below image then click on the “Custom Column”

Step2: A window will appear in which the user can give a name to the column and write the SQL query to get the output. The custom column name should not be a reserved keyword of SQL as well as should not be same as any other column name which are part of the report.

Step 3: Click on save and then ‘Generate’

Note: You can also put static values here. You can basically write anything here which will result in a single column of values. Directly write your DB function/arithmetic function etc. There is no need to write select, alias, where, having, etc clauses here. Also, you can refer to various columns from various tables from the DB in the custom column.
Note that in case if you are calling a column of the DB make sure it is a fully qualified like tablename and column name both should be present.
Changing the Data Type of a Custom Column
Starting from version 7.1.0.375 RC2, users can change the data type of a Custom Column while creating it in the Report Designer.
After entering the Custom Column name (Alias), users can click on the data type icon displayed next to the Alias field. On hovering over this icon, a tooltip displaying Change data type will appear.
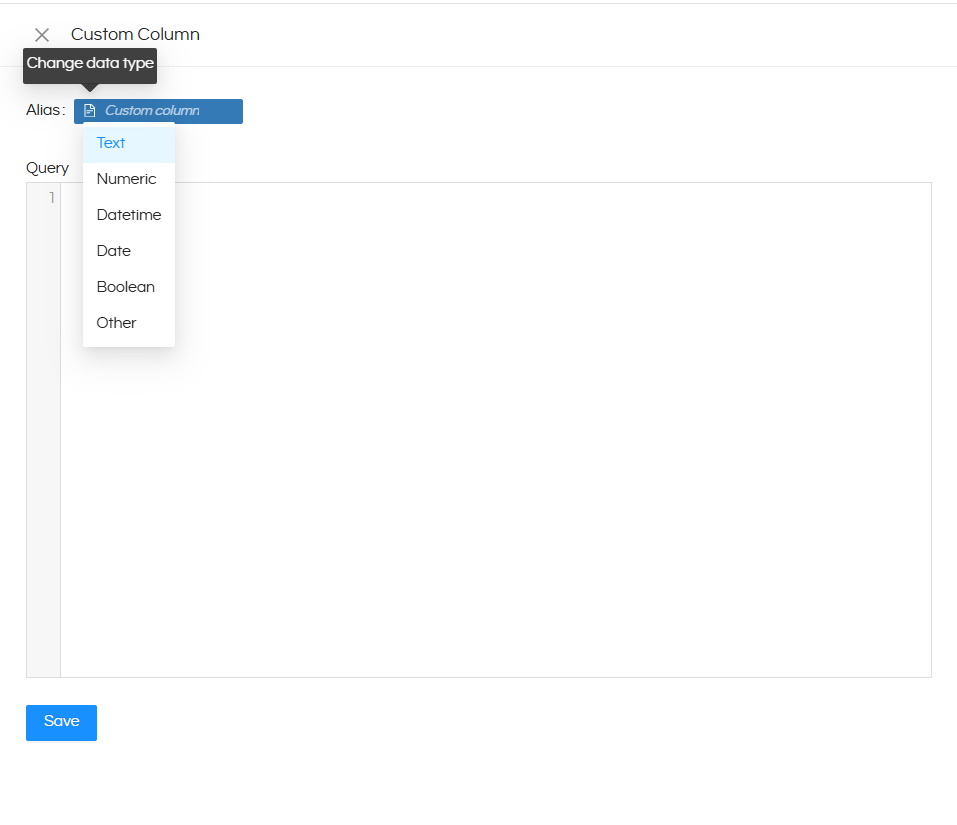
Clicking on this icon displays the available data types that users can select based on the expected output of the Custom Column. This will help in easily using a custom column with respect to a visualization.
The following data types are available:
- Text: For custom columns returning text or string values.
- Numeric: For custom columns returning numeric values.
- Datetime: For custom columns returning date and time values.
- Date: For custom columns returning date values.
- Boolean: For custom columns returning Boolean values.
-
Other: For custom columns returning other data types.
Select the appropriate data type, enter the required SQL expression in the Query editor, and click on Save.
Using Custom Columns as Filters
Starting from version 7.1.0.375 RC1, users now have an option to add a created custom column as a filter in the Report Designer interface.
Steps to Use a Custom Column as a Filter
- Create a Custom Column: Create the required Custom Column in the Report Designer. Refer to the Custom Column documentation for instructions.
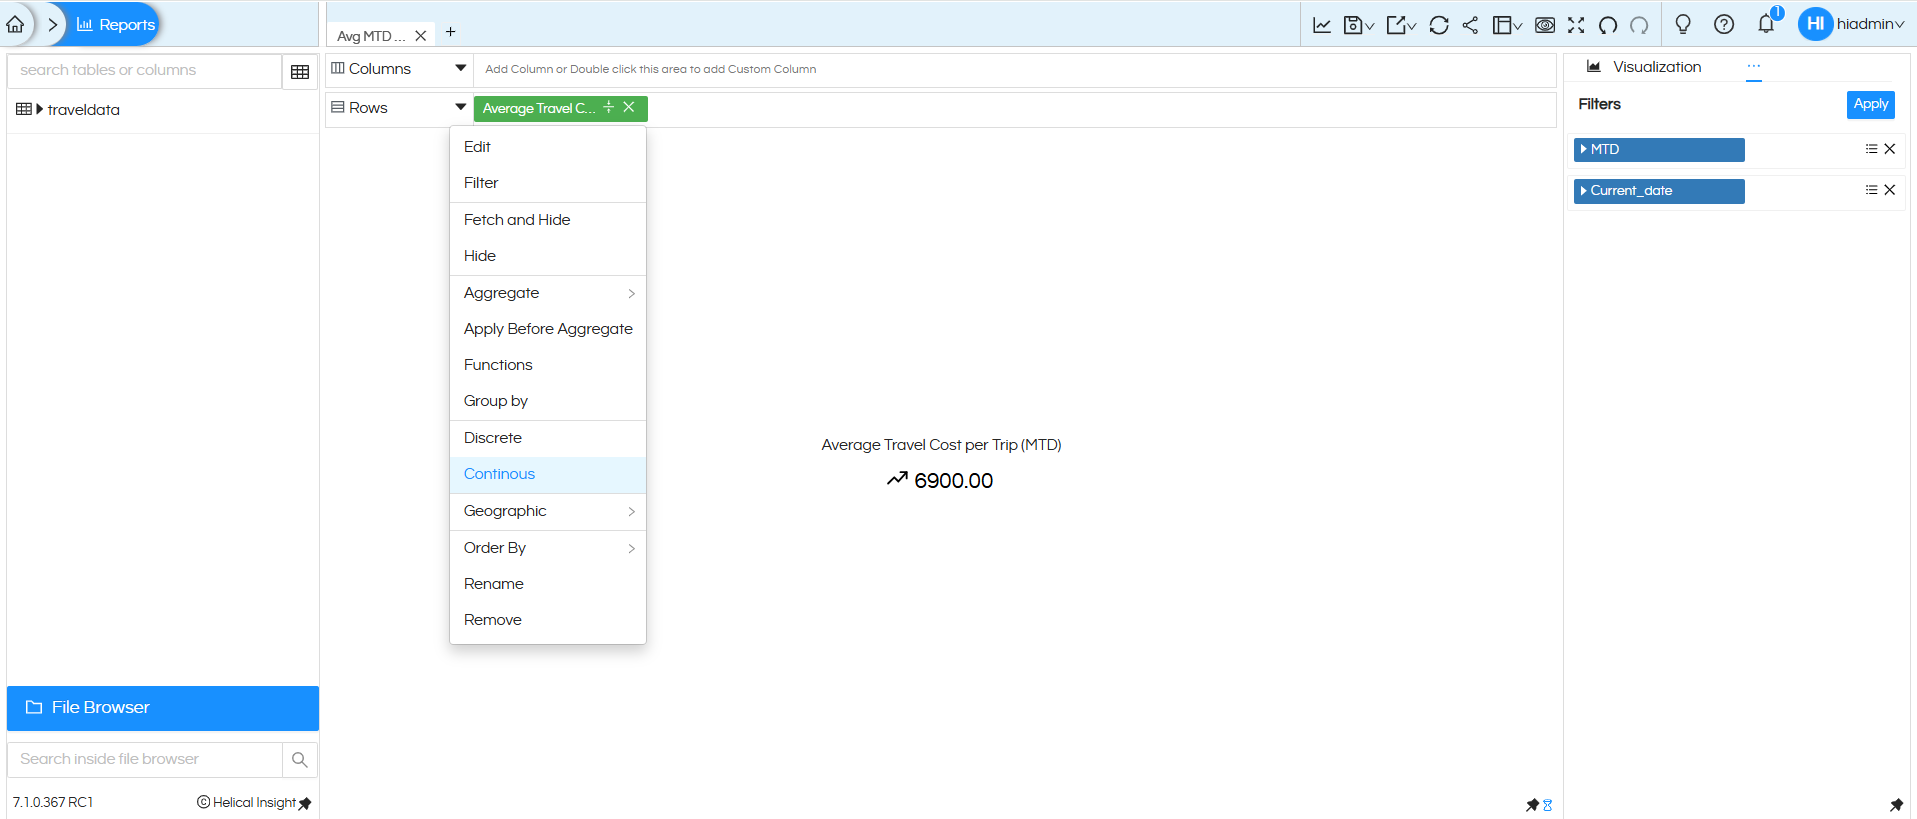
- Open the Custom Column menu: After creating the Custom Column, left-click the created field to open its context menu.
- Select Filter: Choose the Filter option from the context menu. The Custom Column will be added to the Filters section in the Visualization panel.
- Configure and apply the filter: In the Filters section, configure the required filter conditions and click Apply. To know more about filter-usage, please refer to this link.
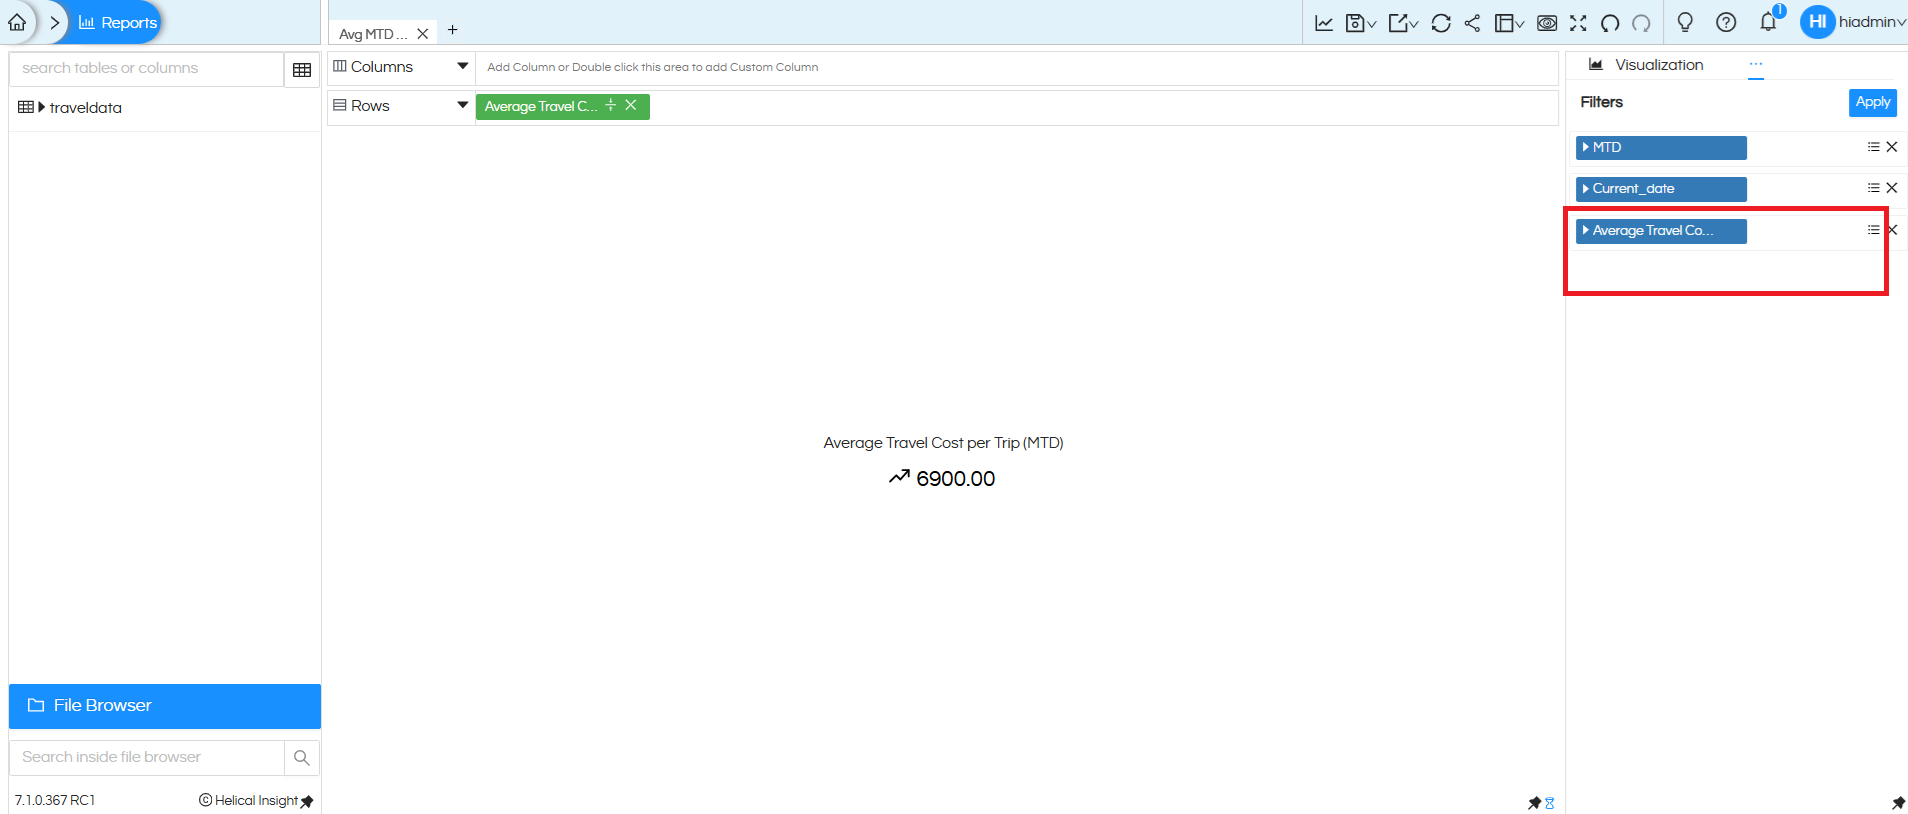
Once the filter is added, you can use any of the other filter related functions, filtering conditions, cascading filters, relative filters, display / value etc options.
Reach out to us on support@helicalinsight.com or ask questions on Helical Insight Forum.
NOTE:
In certain cases we may want to have a calculations (like numerator divided by denomninator but both numerator and denominator are having different filter values). In this blog we have covered how to implement the same:
Using Filters in Custom Column Calculations.
Thank You,
Helical Insight
