Installation Method:
If you are downloading the JAR file of Helical Insight application from our website on/after February 2026, then you must use Java 25. Whereas if you are using Helical Insight version 6.0 (direct installer JAR file) then you need to have java 21 installed and configured. Whereas if you are on older version of Helical Insight, then Java 11 is required.
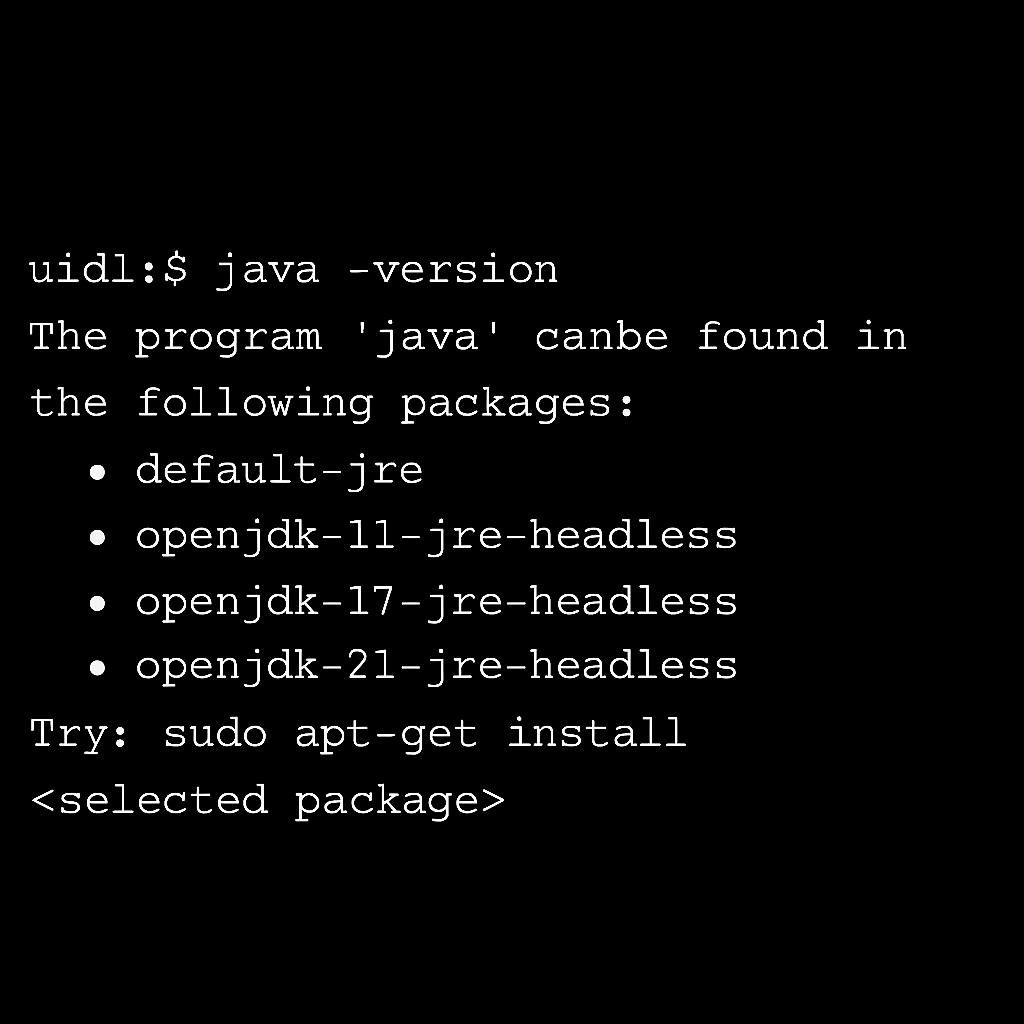
Check the java version with the command java -version if it successfully installed then you can see the version else you will see the below image.
Java –version
If you get result similar to the below image you do not have Java installed. The list shows you which packages in your system have Java available and you have to install it.
(Note: Ubuntu default repository packages by default provides JAVA up to openjdk-21. For openjdk-25 manual installation of JAVA is required.)
Installation Steps:
-
- Login to Ubuntu
- Check whether Java is already installed by running the following command:
java -version
If java is not at all present then we have to install Java 25. Follow below steps for installation.
Installing OpenJDK 25:
- To install the JDK-25, we have to follow manual installation steps (For very latest versions of Ubuntu, default Java packages are available for JDK-25. But for older Ubuntu versions default Java packages are available up to JDK-21 only and we need to install JDK-25 manually). Refer this blog to learn how to install Java 25 manually on older versions of Ubuntu : https://virtarix.com/blog/install-java-25-on-ubuntu-using-apt-get/
- Once Java is installed, to set the JAVA_HOME environment variable find out the path of your Java installation using below command:
sudo update-alternatives –config java
It returns the number of Java versions installed on your machine and it looks something like below:
There are 2 choices for the alternative java (providing /usr/bin/java).

  Selection    Path                                             Priority   Status
------------------------------------------------------------
* 0            /usr/lib/jvm/java-11-openjdk-amd64/bin/java      1111      auto mode
  1            /usr/lib/jvm/java-11-openjdk-amd64/bin/java      1111      manual mode
  2            /usr/lib/jvm/java-17-openjdk-amd64/bin/java      1112      manual mode
  3            /usr/lib/jvm/java-21-openjdk-amd64/bin/java      1113      manual mode
  4            /usr/lib/jvm/java-25-openjdk-amd64/bin/java      1114      manual mode

Press <enter> to keep the current choice[*], or type selection number:
In the example above, the path for Java 25 is:
/usr/lib/jvm/java-25-openjdk-amd64In order to set default Java version to Java 25, you have to select 4. Similarly, you can choose the number based on the Helical Insight version and Java versions present on your machine.
Set the JAVA_HOME environment variable:
Add the following line to your ~/.bashrc, ~/.zshrc, or ~/.profile file, depending on your shell:
export JAVA_HOME=/usr/lib/jvm/java-25-openjdk-amd64
export PATH=$JAVA_HOME/bin:$PATHApply the changes:
source ~/.bashrc # or the appropriate config file - Test it by executing:
echo $JAVA_HOME
If it returns the just set path, the environment variable has been set successfully. If it doesn’t, please make sure you followed all steps correctly.
