
Helical Insight provides extensive white labelling capabilities that allow organizations to rebrand the platform according to their corporate identity. Through white labelling, organizations can customize the logo, colors, favicon, login screen, and different modules of the application to deliver a unified, brand-aligned experience.
Helical Insight also supports organization-specific, user-specific, and role-specific white labelling. This means the system can identify who has logged in and automatically apply the appropriate customized branding for each user or role
This guide provides step-by-step instructions to configure white labelling in Helical Insight.
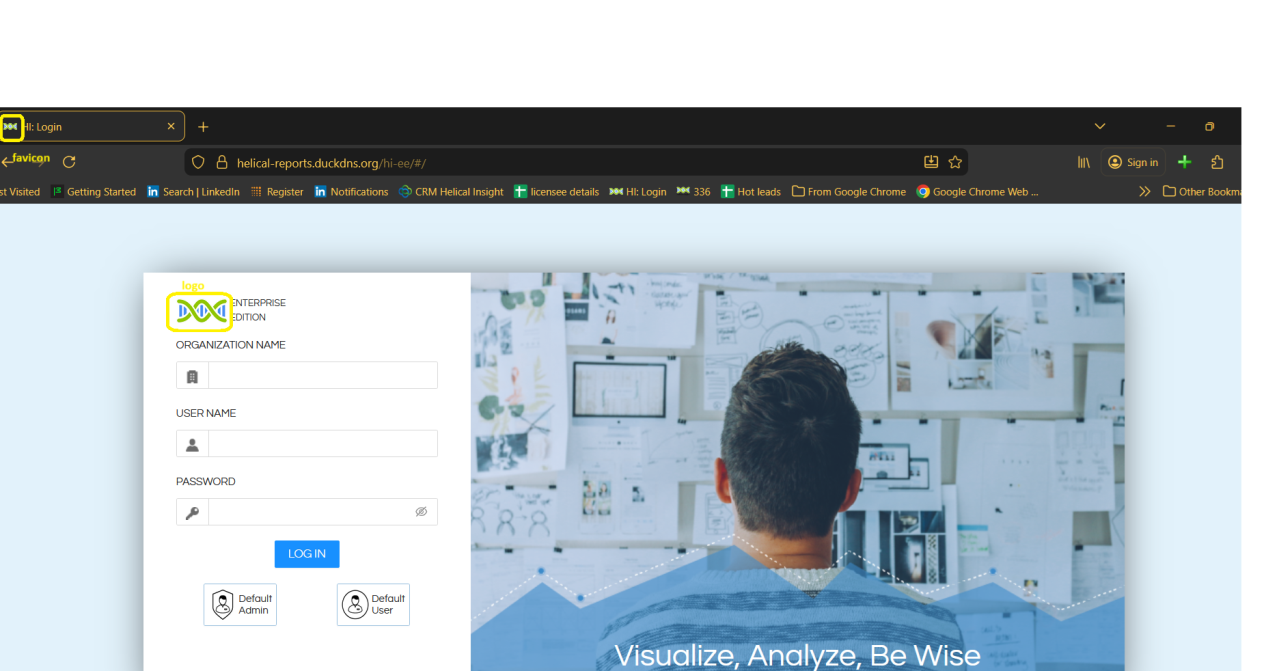
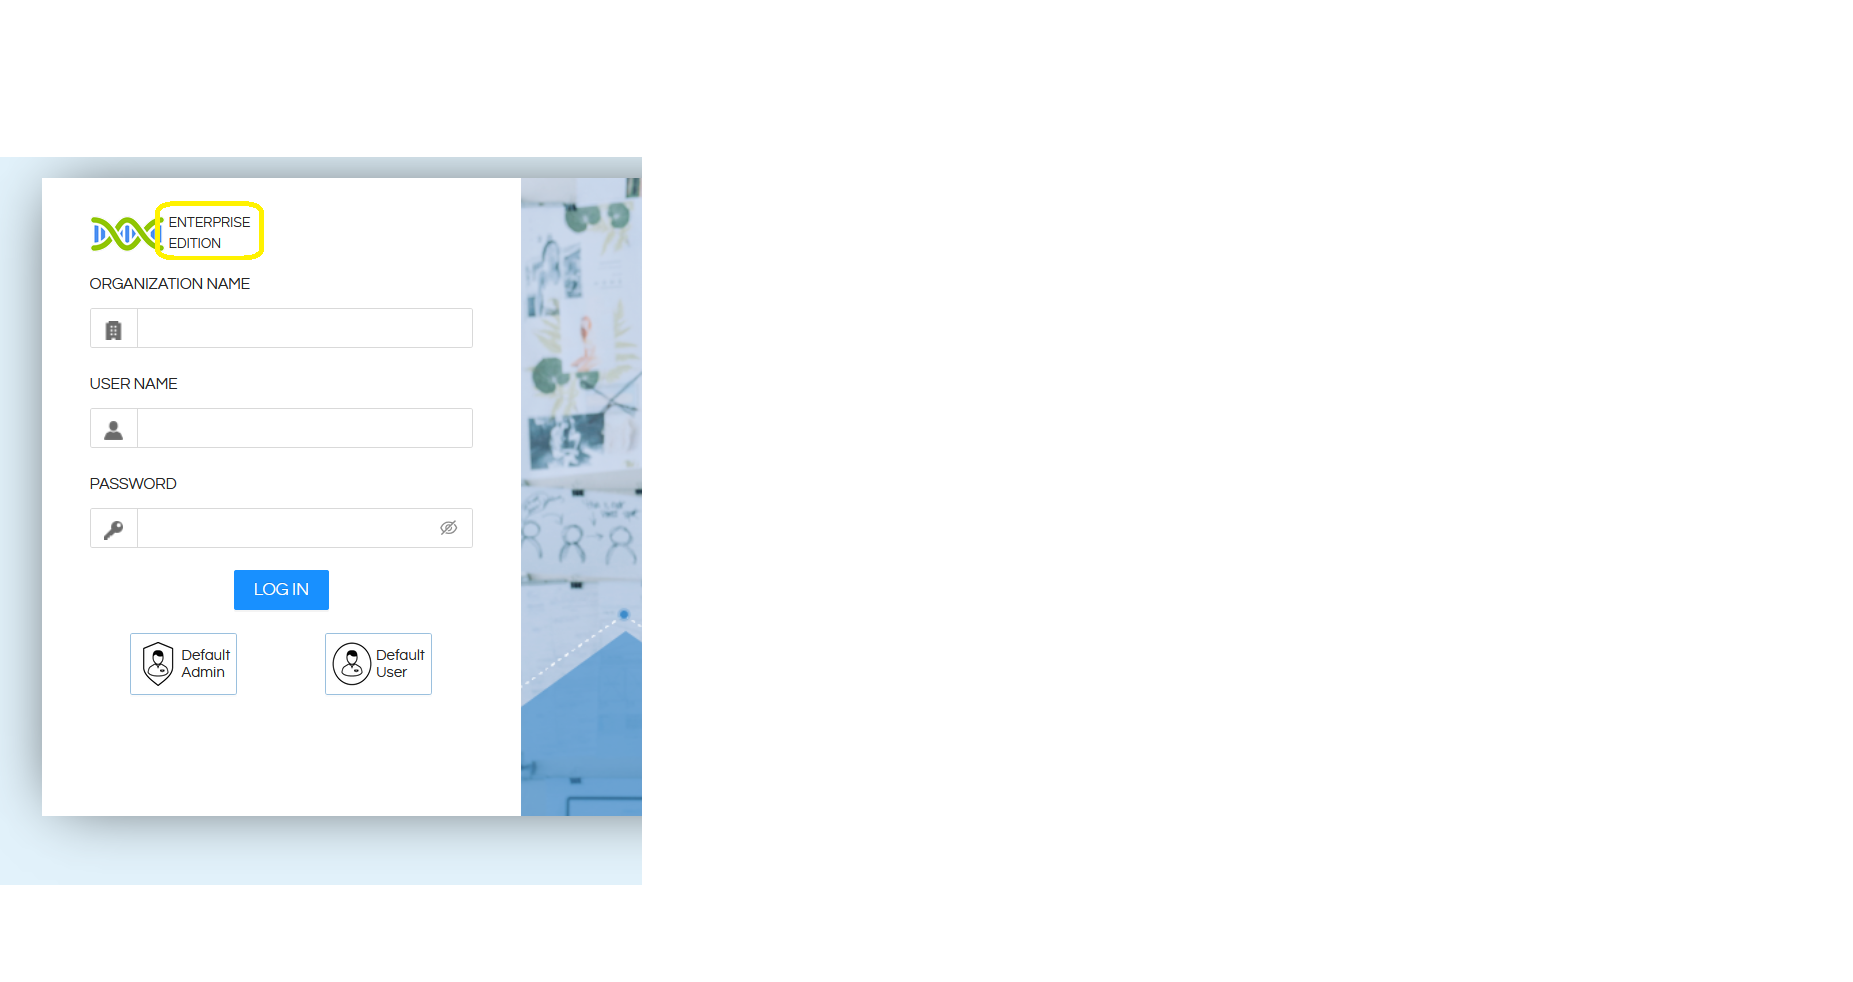
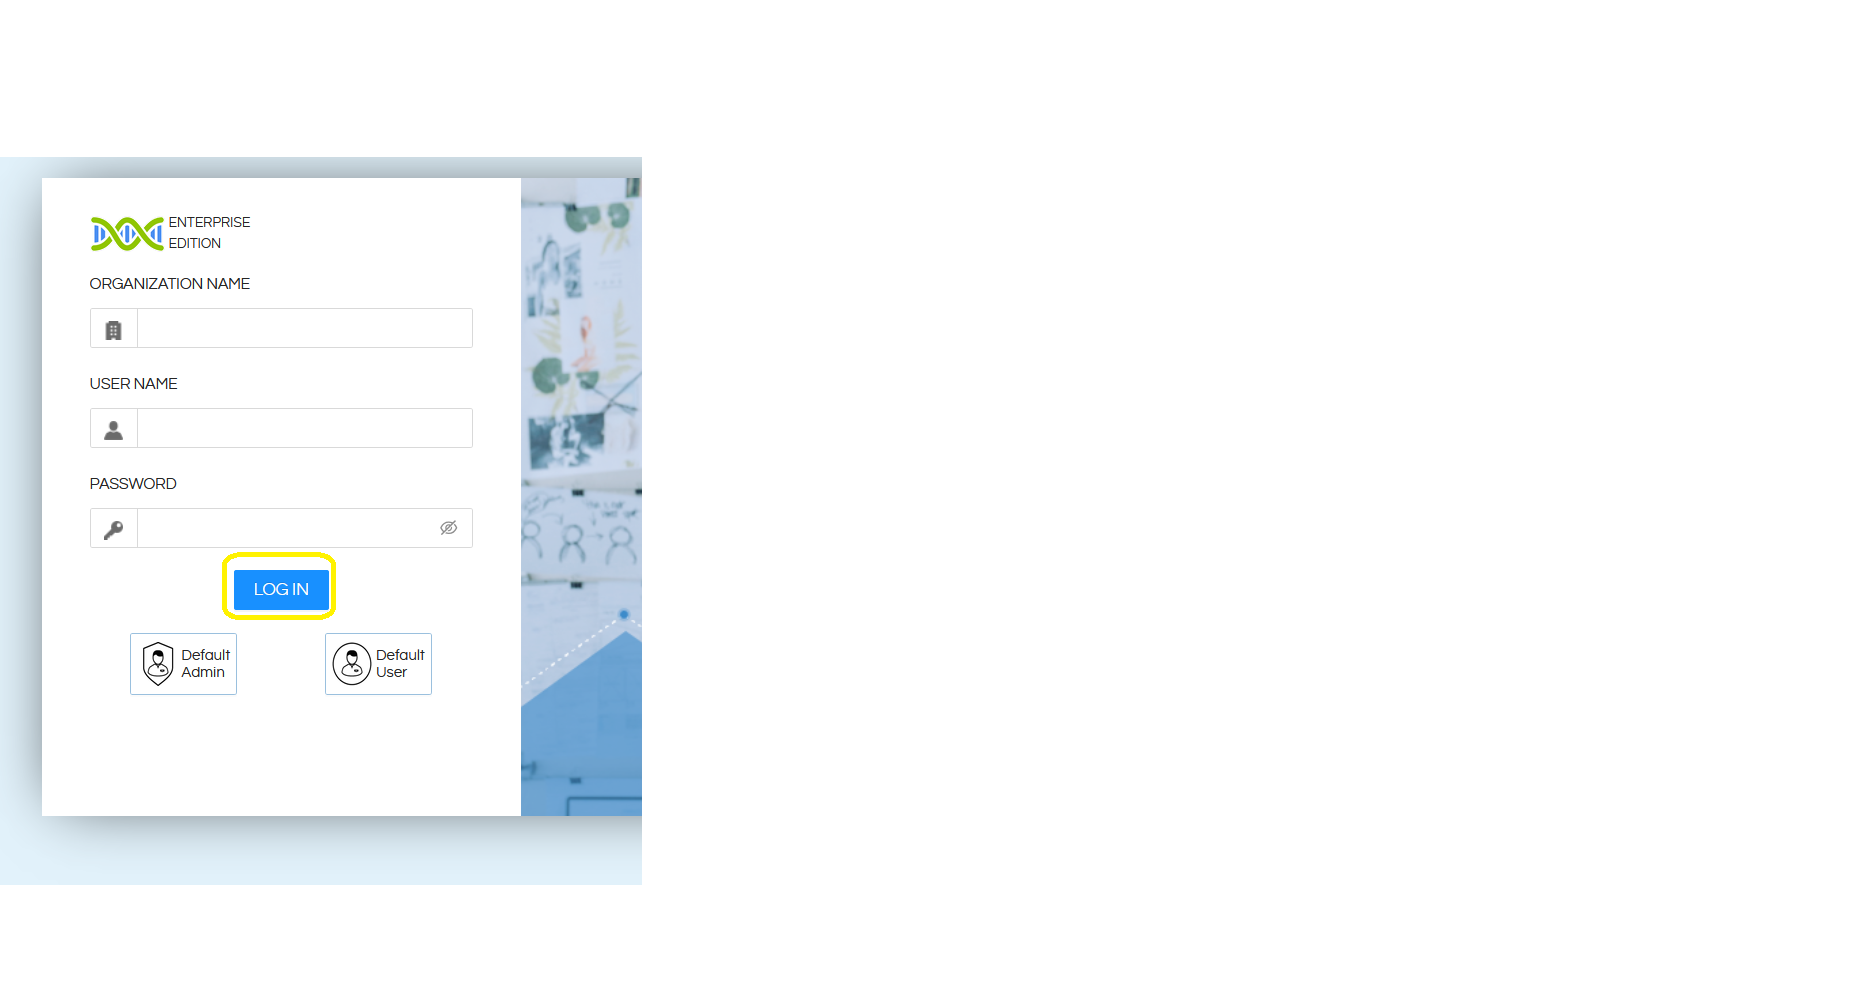
Default login page of the application is shown below.

Step-by-Step White Labelling Instructions :
1. Logo, Favicon and and login page backgroud image
Open the following server installation path:
<HI_INSTALLATION_PATH>/hi/apache-tomcat-11/webapps/hi-ee/images/hi-loginPageImages
For Logo and Favicon: Replace the existing logo.svg file with your own logo, and then refresh the application URL. The updated logo and favicon appears immediately.
For background image: Replace the existing log_placeholder.png file with your own logo, and then refresh the application URL. The updated logo and favicon appears immediately
2. Custom styling by overriding application CSS
It is also possible to create custom styling CSS file which can be invoked and used anywhere. In that CSS file, we can write any sort of code to remove, add, update etc.
Create a custom.css file in the following server installation path
<HI_INSTALLATION_PATH>/hi/apache-tomcat-11/webapps/hi-ee/css
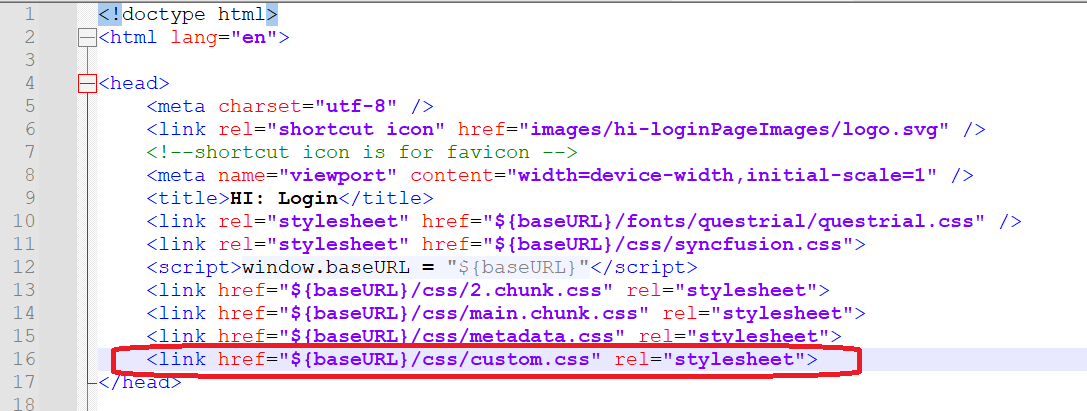
Then open loginBody.jsp file from below server installation path
<HI_INSTALLATION_PATH>/hi/apache-tomcat-11/webapps/hi-ee/WEB-INF/jsp/
And add the below line in the towards the end. We have invoked that custom CSS file here.
<link href="${baseURL}/css/custom.css" rel="stylesheet">
Now we can write our own css in custom.css, some examples we have provided below:
/* Hiding login page text */

.ant-typography.login-page-text {
  visibility: hidden;
}
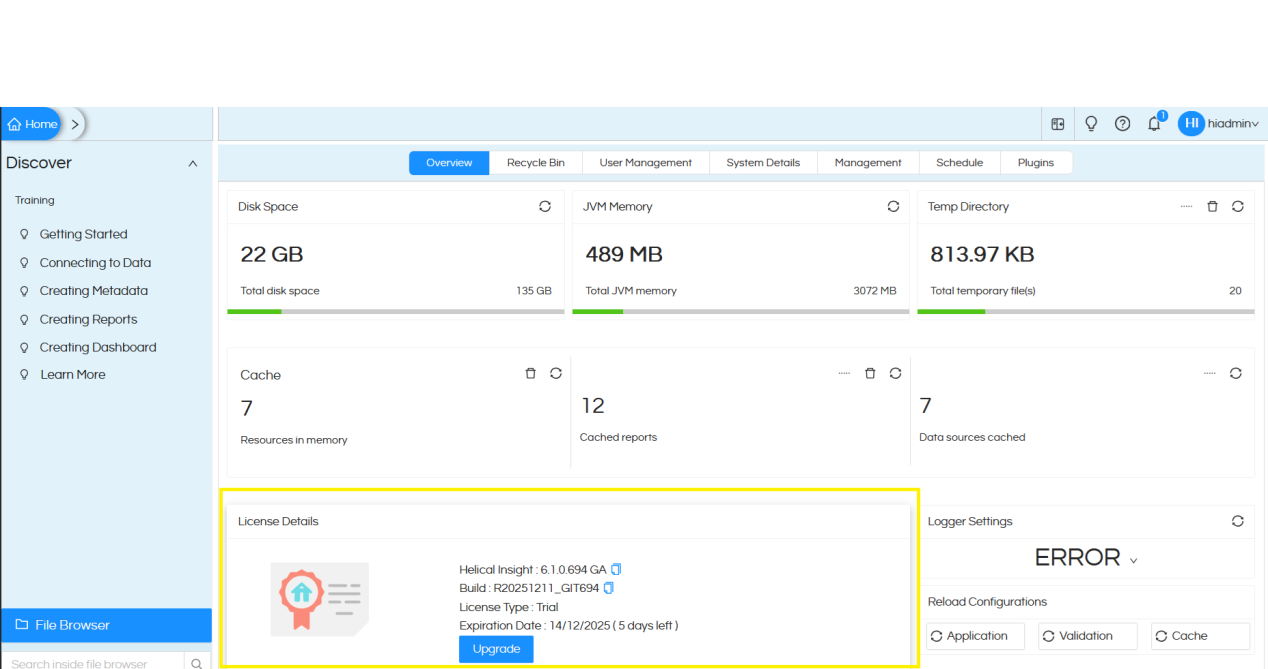
/* Hiding license information visible after logging in*/

.hi-license
{
visibility: hidden !important;
}
/* Hiding text beside logo */

.ant-typography.login-form-logo-text
{
display: none!important;
}
/* Removing Discover information, this is visible when we login on the left side*/
.ant-collapse.ant-collapse-icon-position-end.ant-collapse-ghost.hi-custom-collapse {
  display: none !important;
}

.sidebar-footer-text{
visibility: hidden !important;
}

.ant-collapse-header-text{
display: none!important;
}
/*Logo image adjustments */

.login-form-logo {
  height: 50px !important;
  width: 160px !important;
  display: block;
  object-fit: contain;
  transform: translate(-32px, -8px);
  margin-bottom: 12px;
}

.login-page-wrapper{

	background : #05343a !important;
}

.ant-layout-content > div[style] {
    background-color: #05343a !important;
}
/*Changing background color of Login button */

.ant-form-item-control-input-content .ant-btn.ant-btn-primary {
    background: #05343a !important;
}
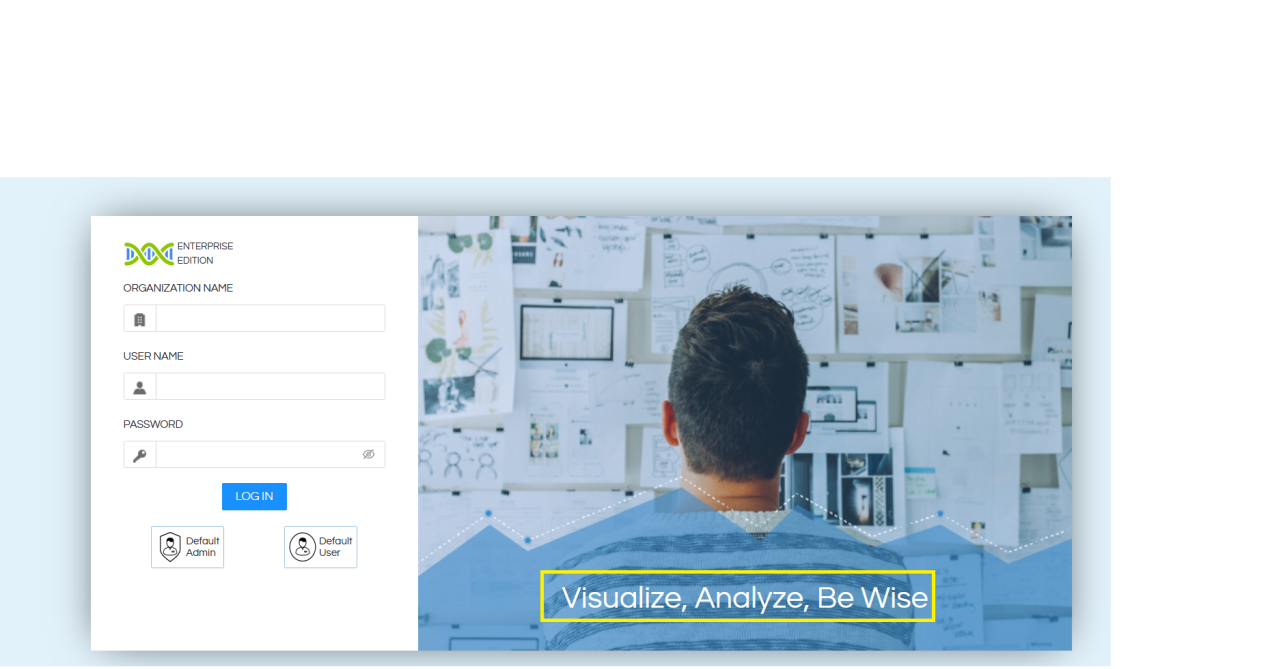
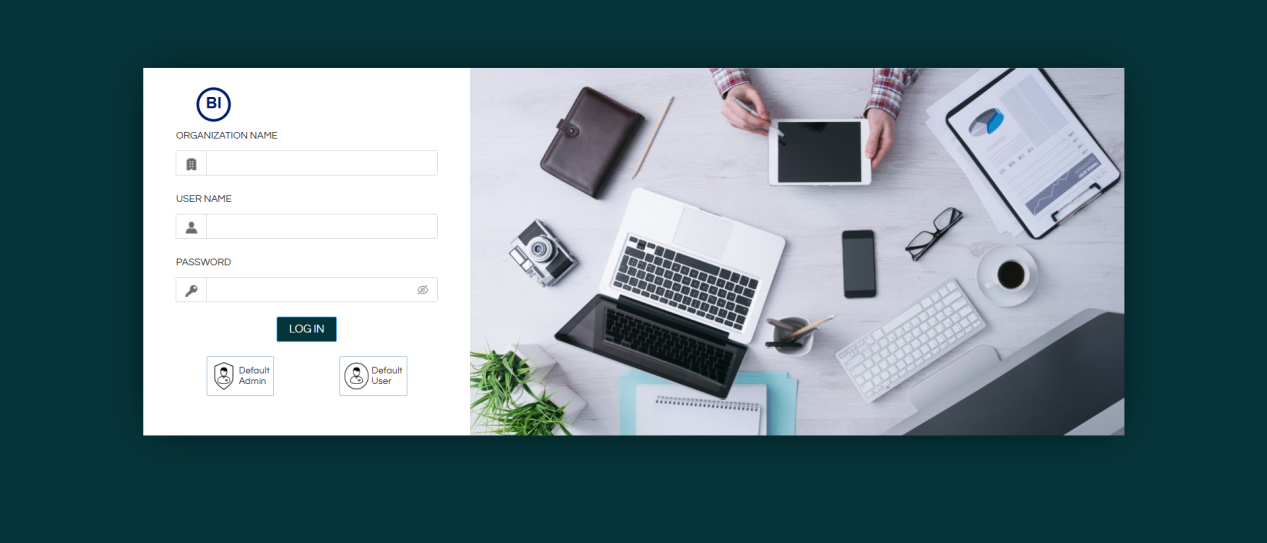
3. Once we apply the above CSS and update the images, the changes will reflect in the application. Screenshots are shared below
Note: We can inspect the elements to get the required class names or IDs, and then apply any CSS across the entire application.
